


It’s Pregnancy Week here on Scottsdale Moms Blog! If you are just tuning in, be sure to read the rest of the week’s posts here.
I have always had a vision of how my daughter’s room could be turned into a shared room with a sibling. In January of this year, we found out it was time to put that plan into action. With a little man on the way, no sign of a larger house on the horizon and unwilling to do the minor construction it would take to turn the home office into a real third bedroom, it was time to get serious. It was time for a Pinterest board.
The amount of amazing ideas out there is endless. Just searching for “shared rooms” brings up some incredible images full of color, creativity and fun themes. I was totally overwhelmed by what I saw. I pushed the project off a few weeks until it hit me: don’t reinvent the wheel. I love the chevron patterns, yellow and gray color schemes, and clever ways to create storage. But that is so different that what is currently going on in the room that it would mean a complete do-over. Which is way more work and a lot more cash than I wanted to spend. So I made a list of what I needed, what I had and what colors would work with the existing color of the room. A few key strokes, clicks and pins later, I had a visual of my vision!
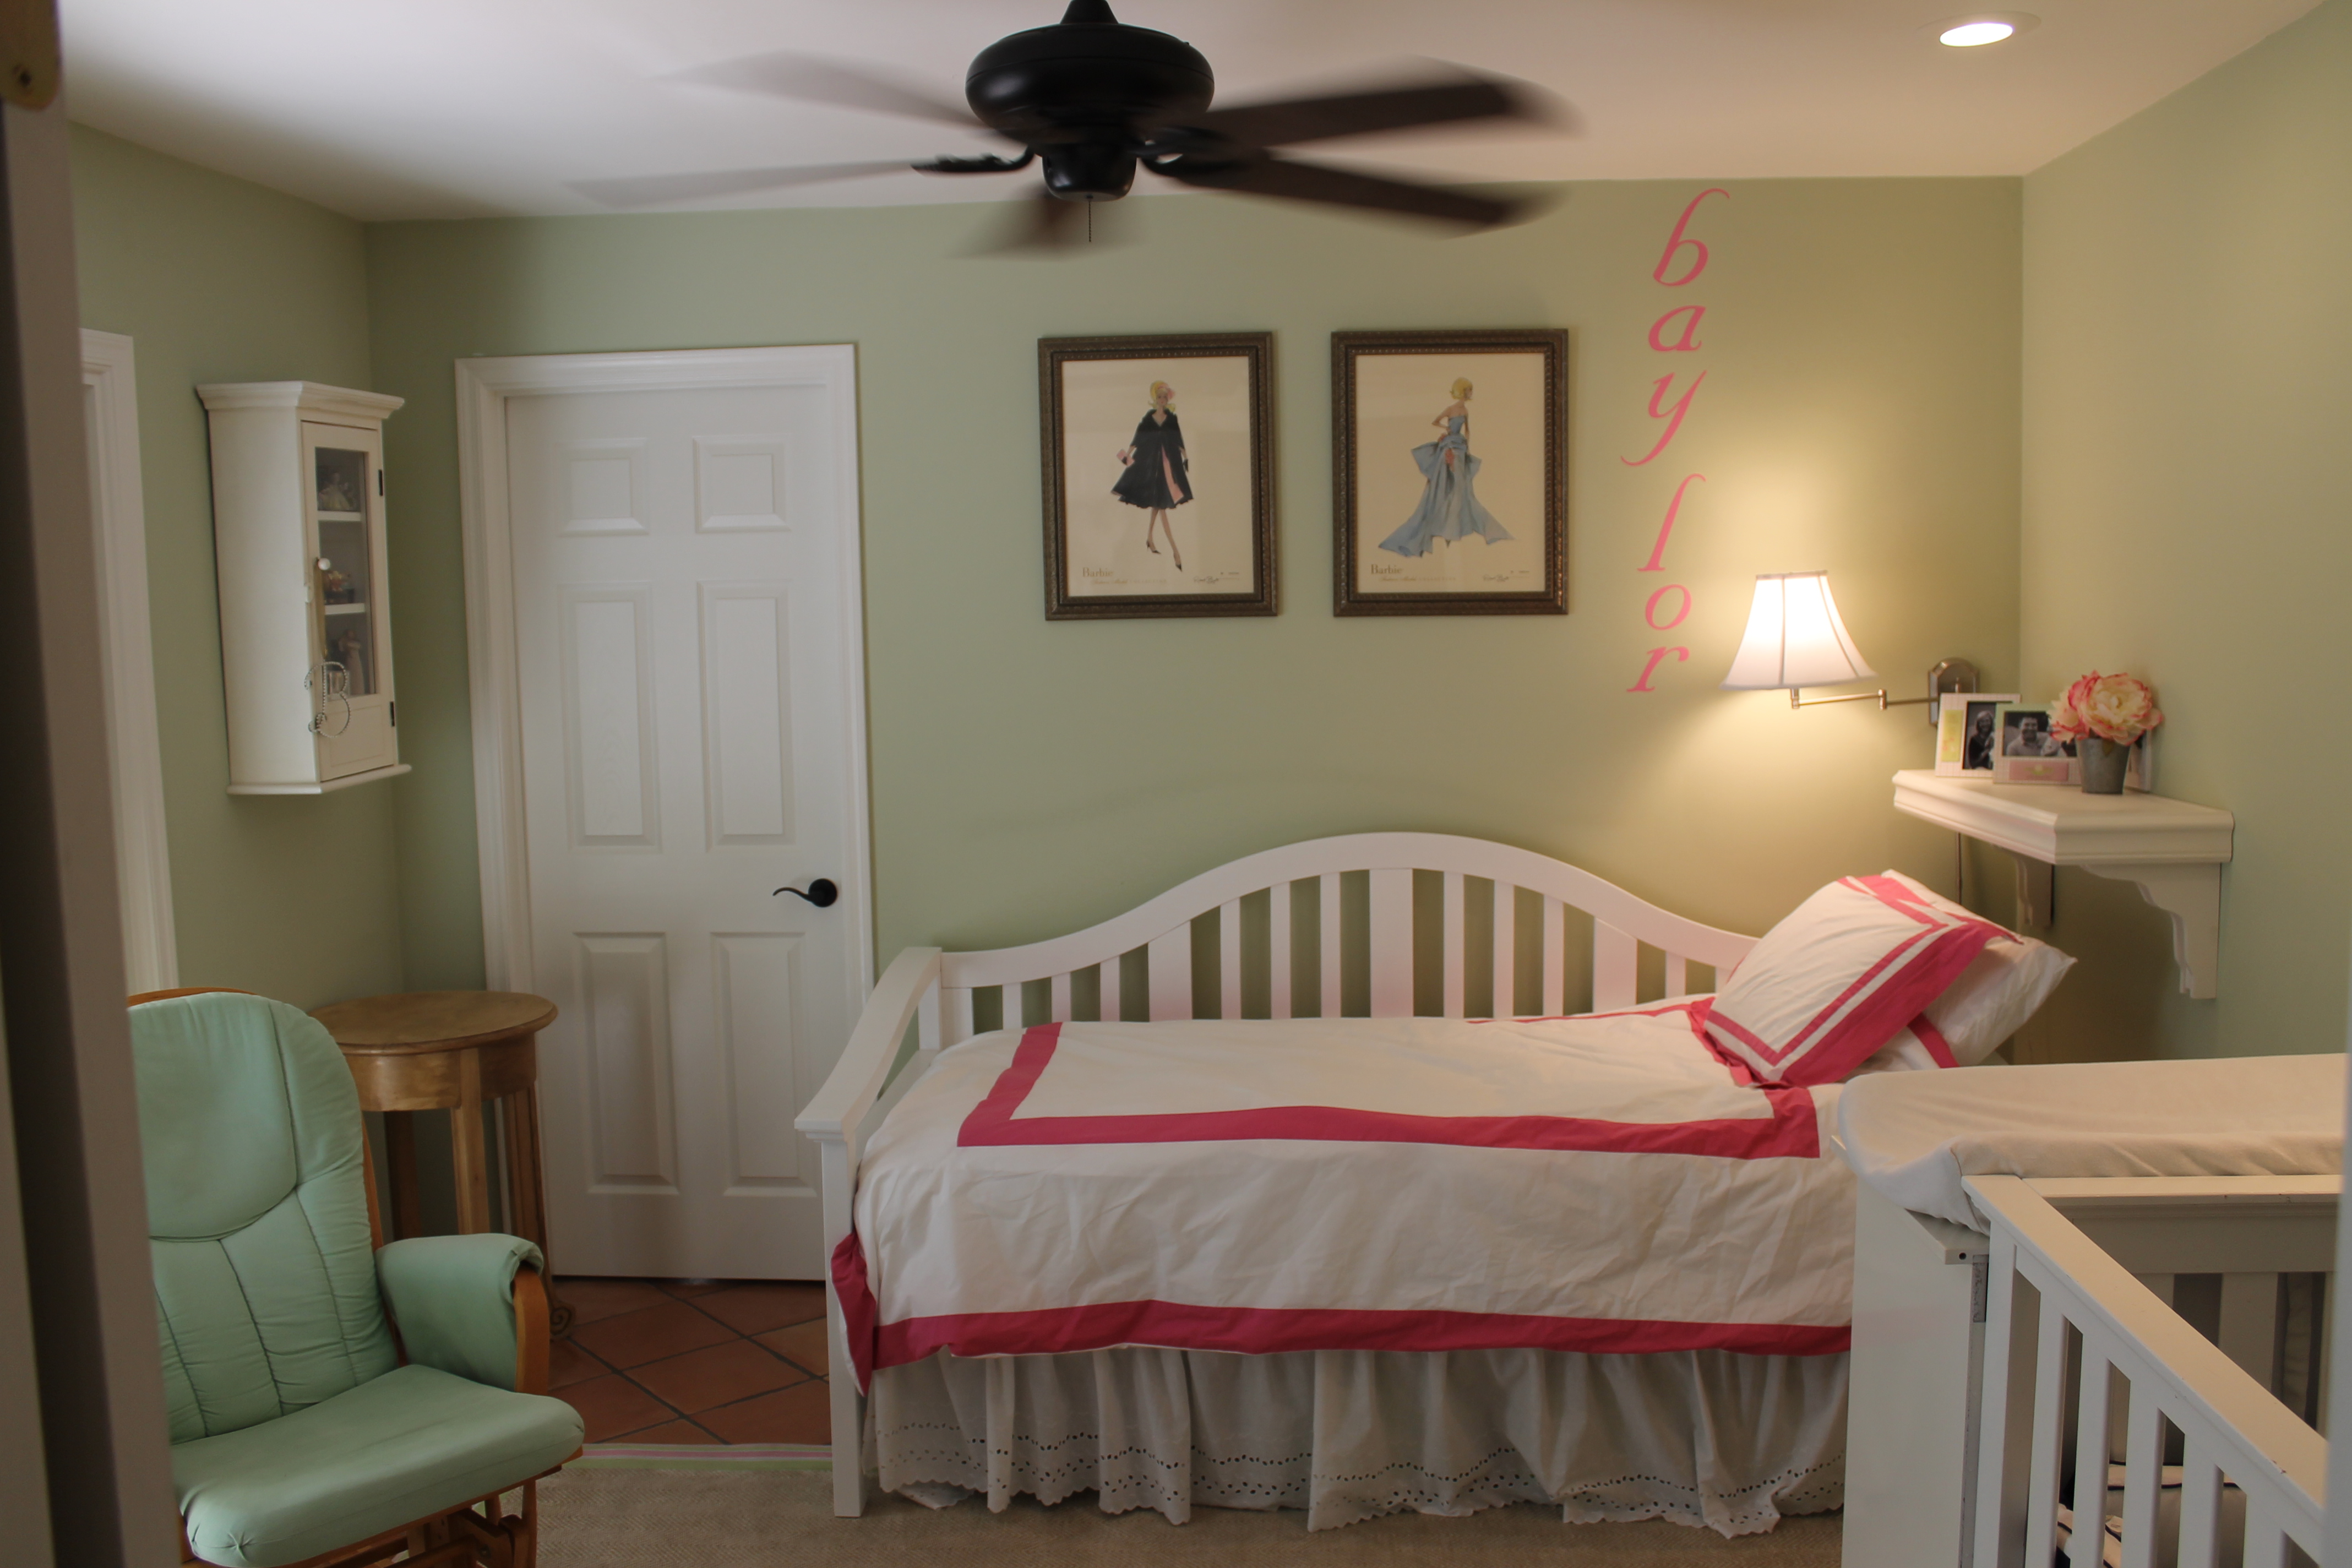
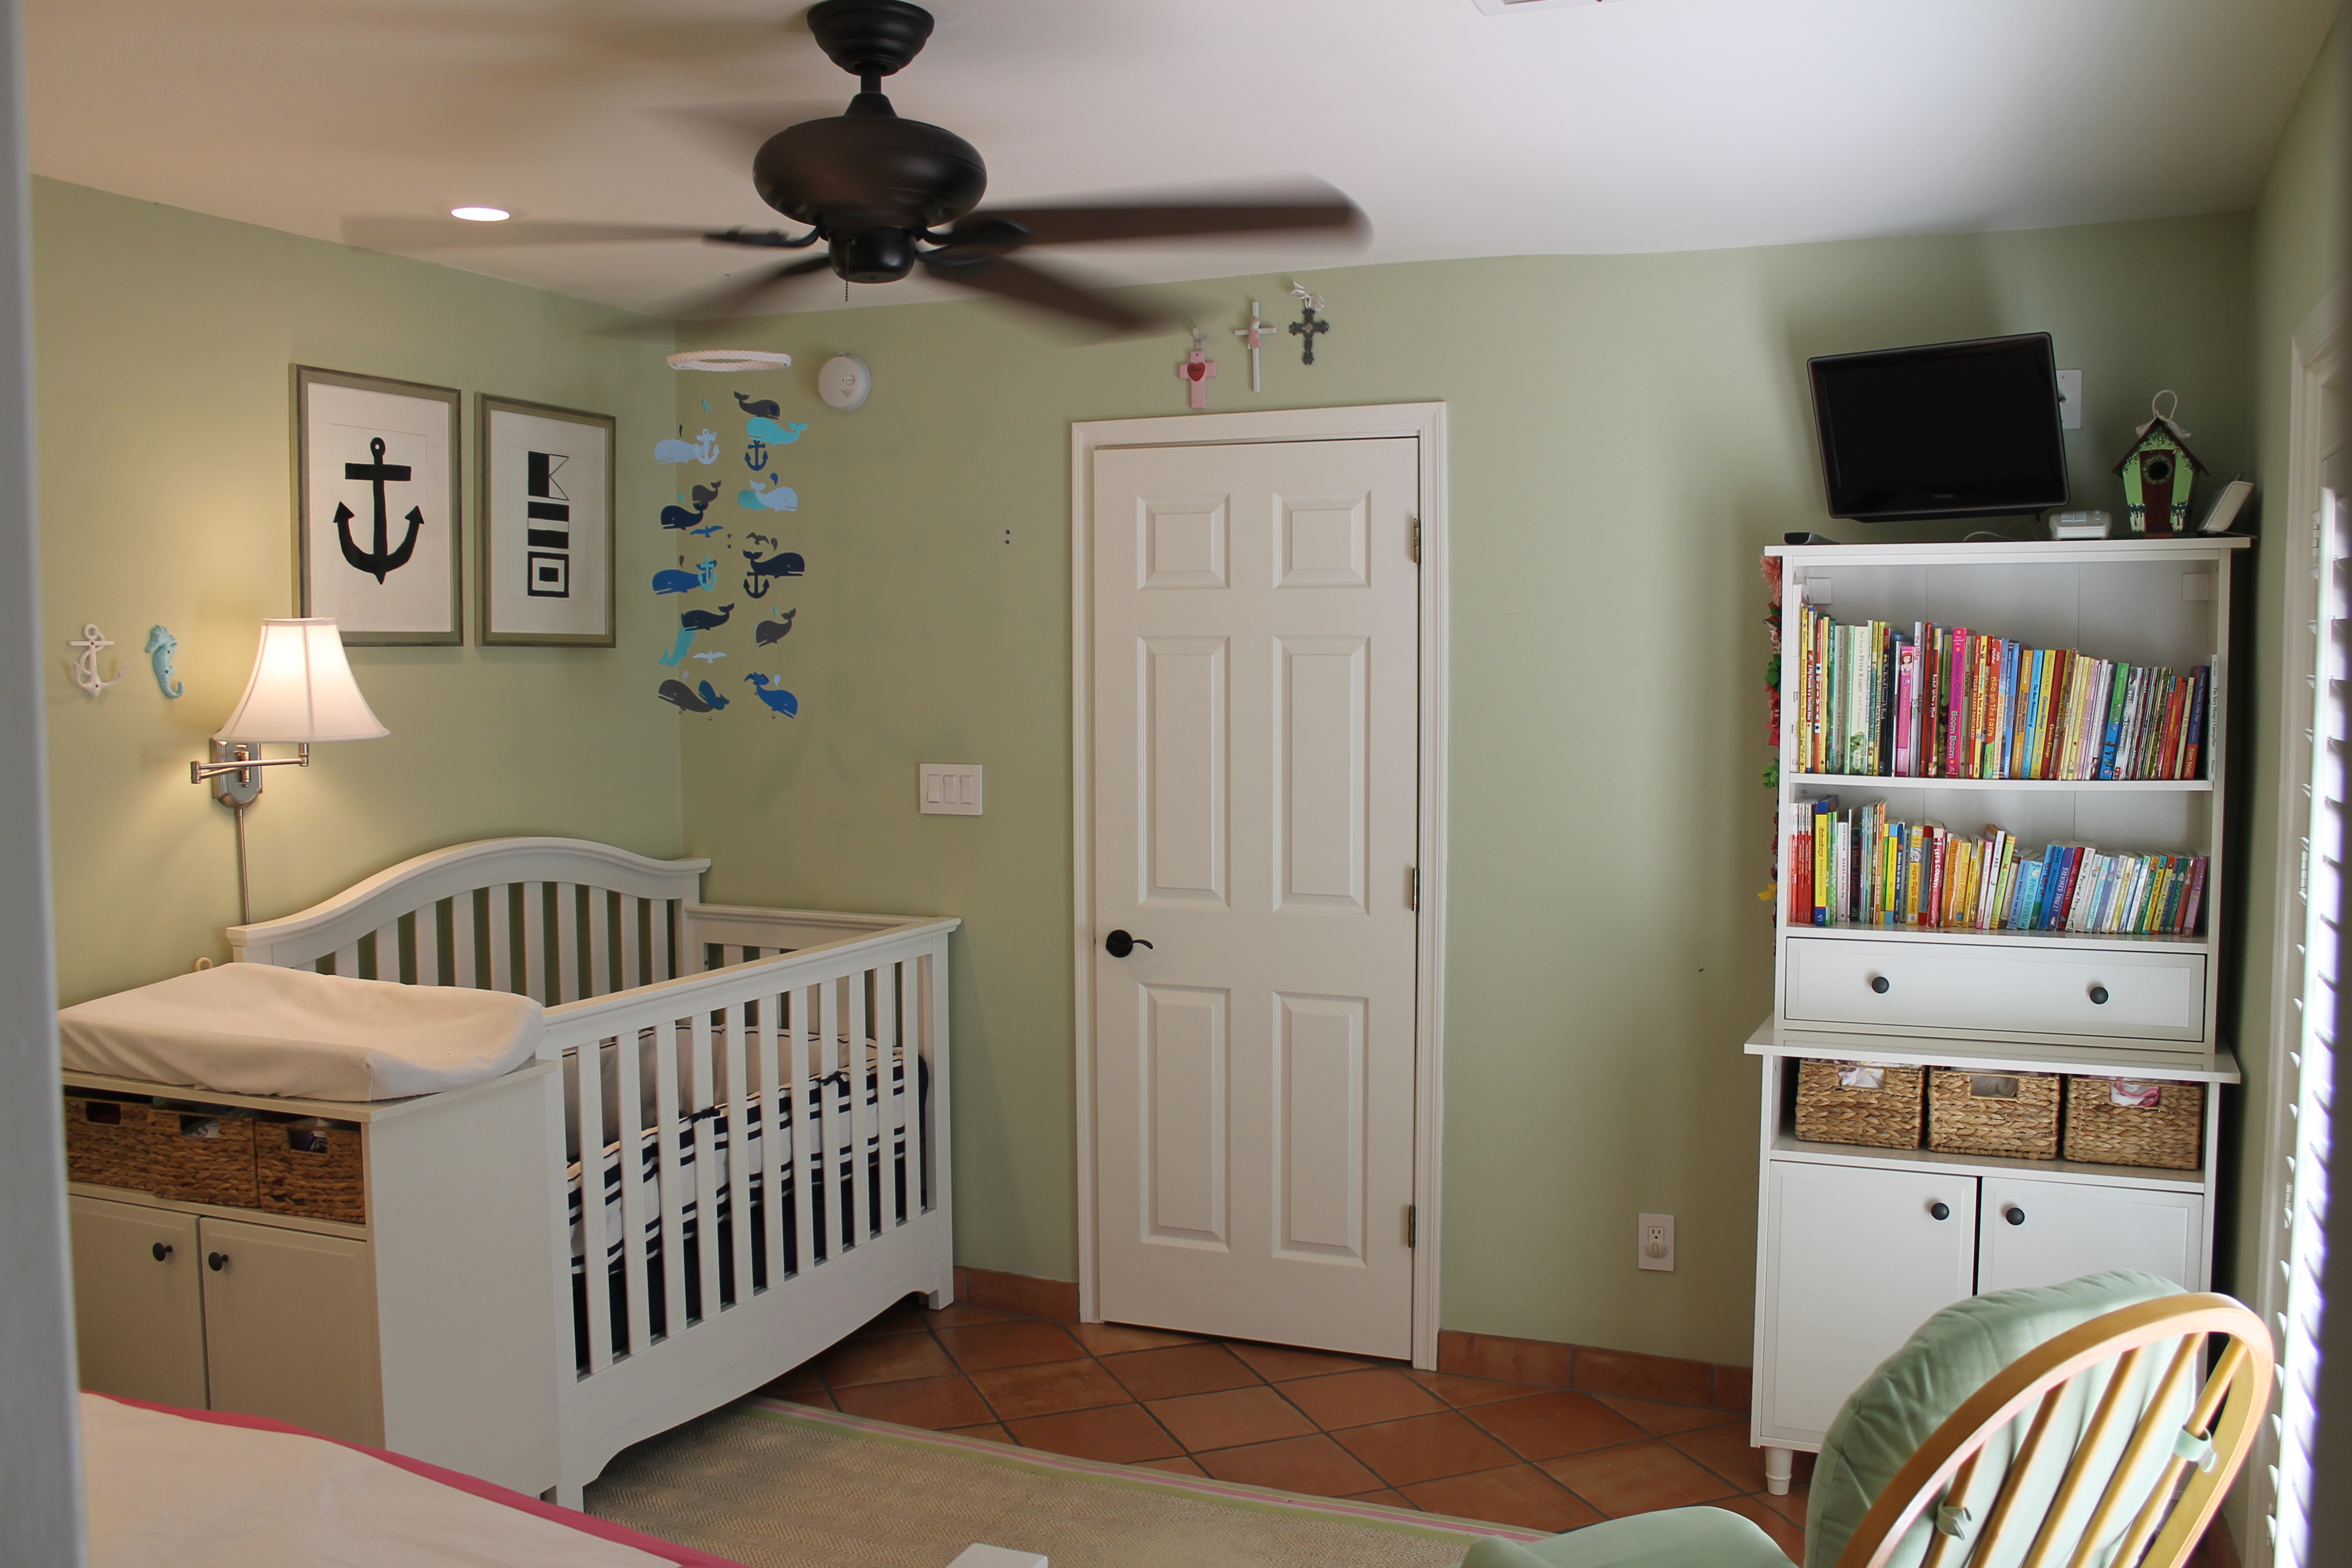
My goals were: not to repaint the room, to reuse as much (if not all) furniture as possible, and create two distinct areas that were decidedly his and hers, but at the same time with a similar feel so that it wouldn’t look disjointed.
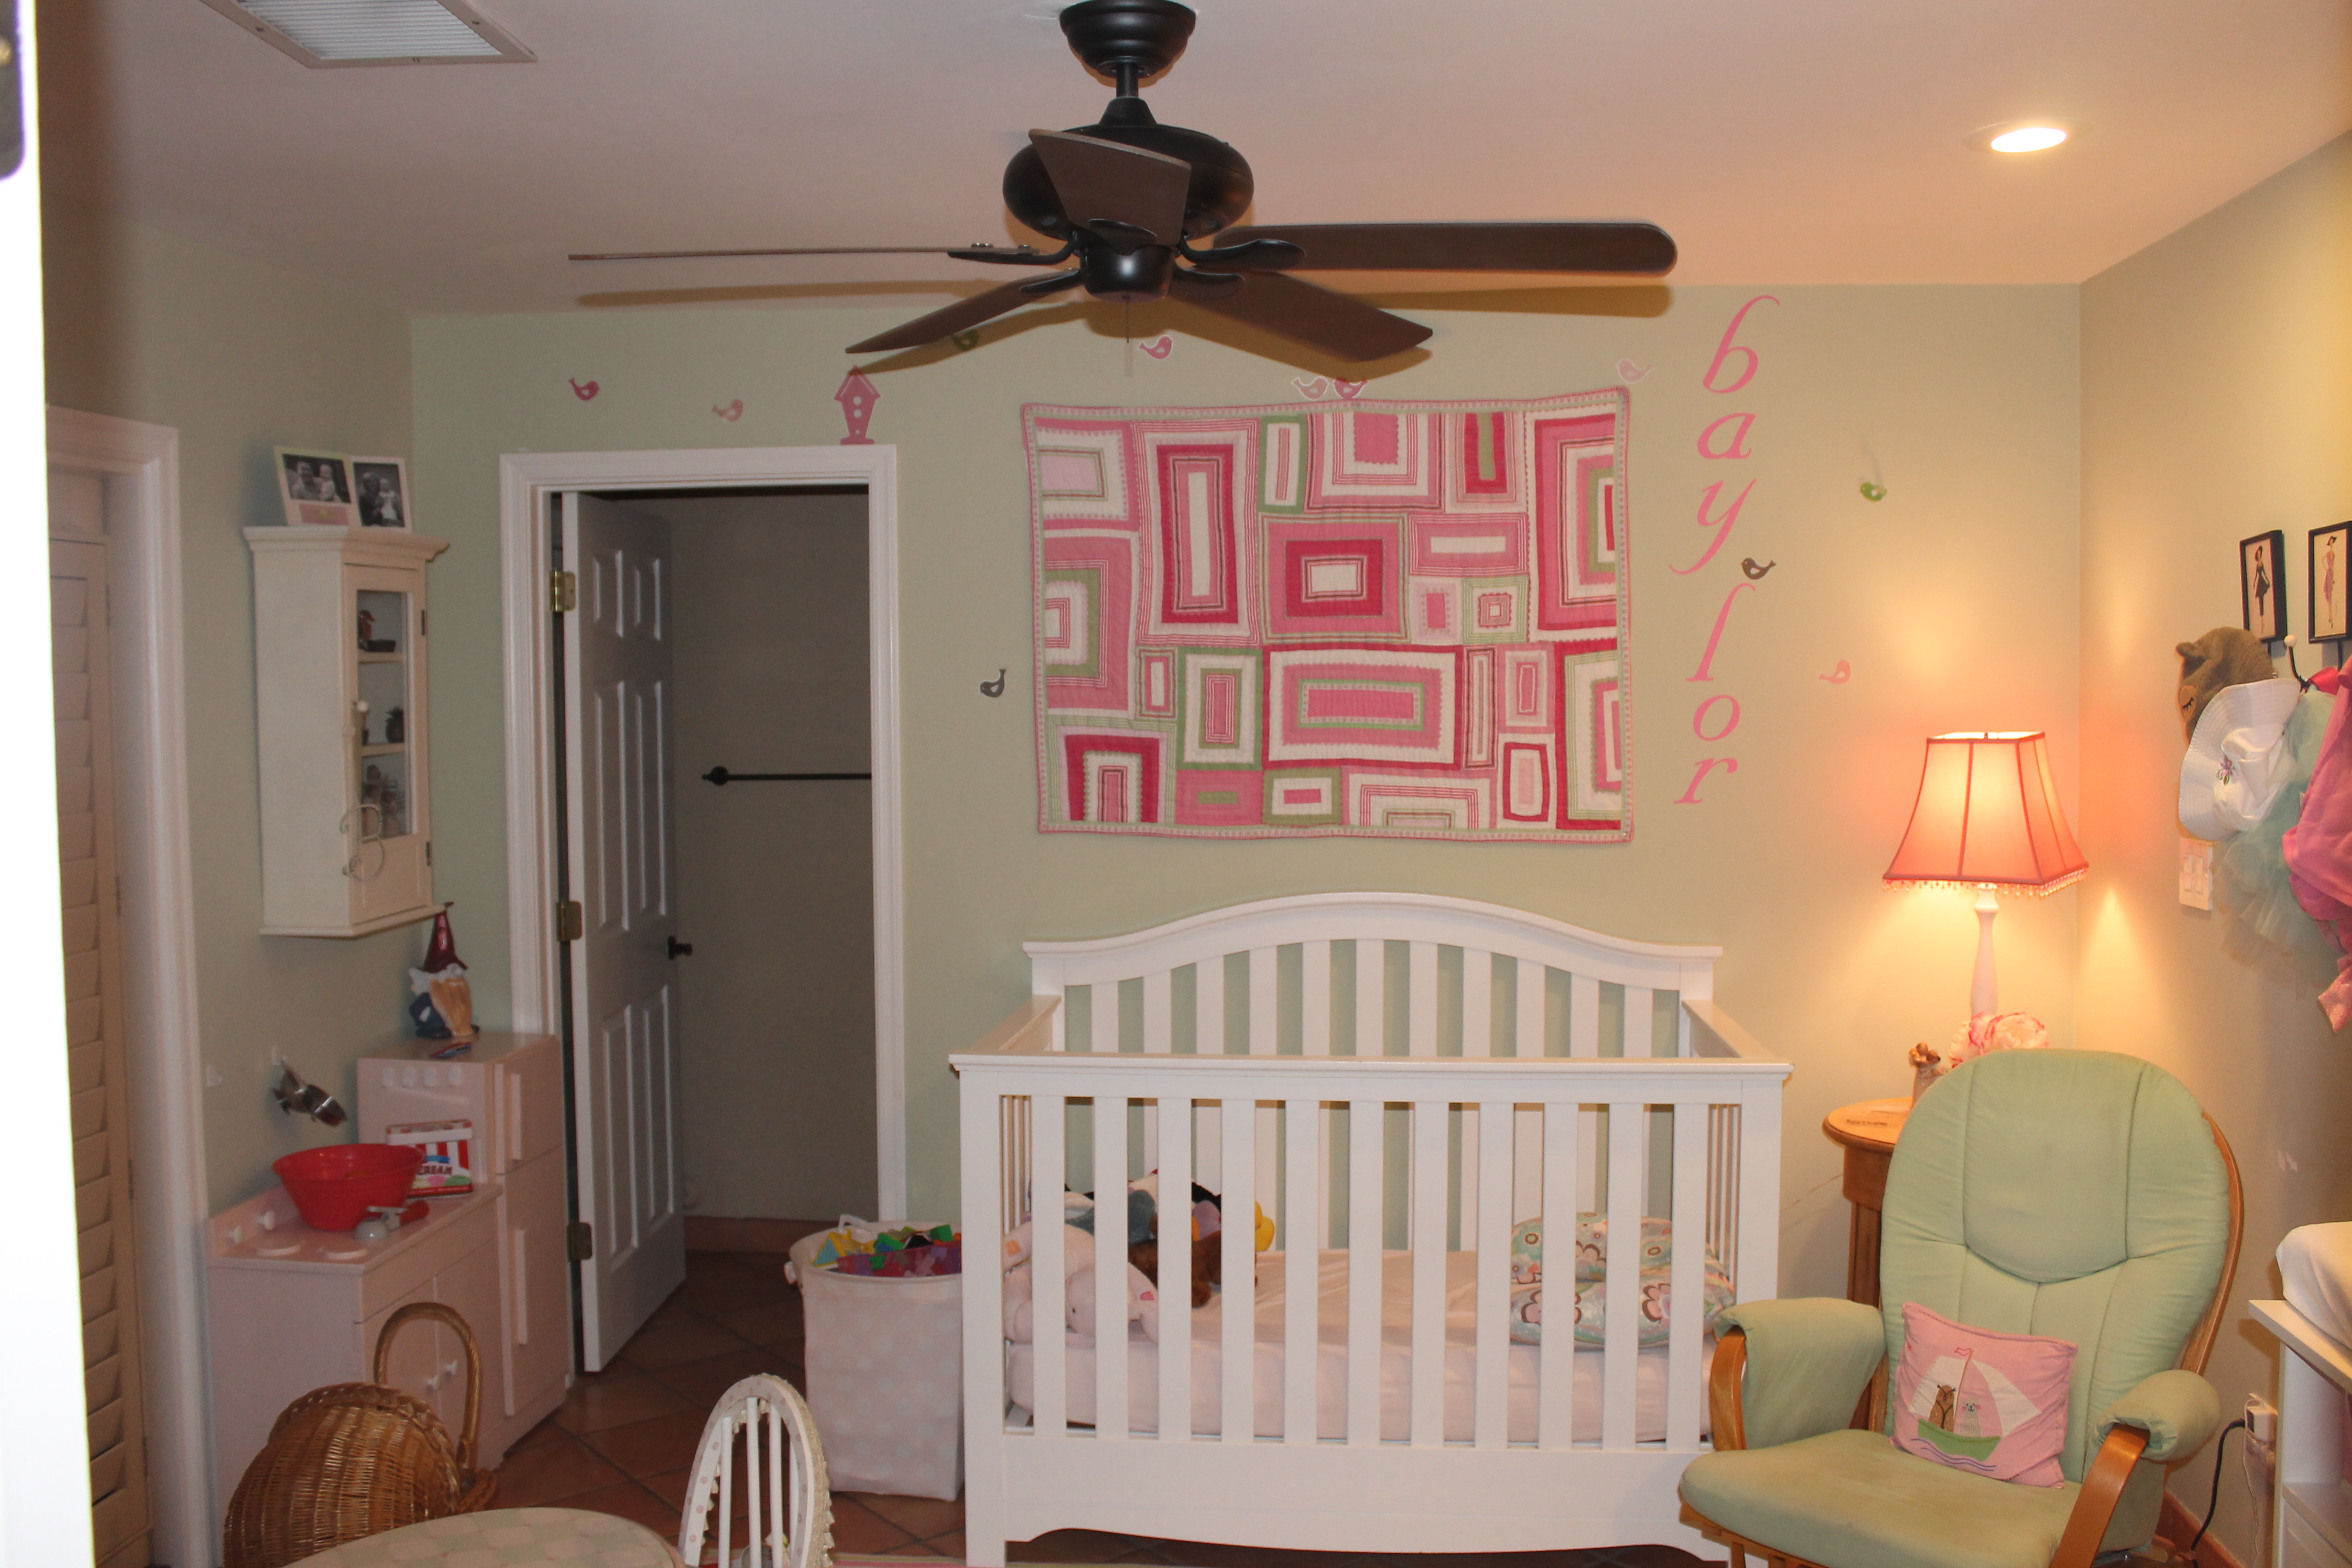
I loved the shabby-chic feel of the room when it was all girl, so all of those same decorations were condensed to the girl side. And while pinning, I decided on a nautical theme for the baby’s side. My taste leans towards the classics and Pottery Barn Kids was happy to oblige by having a duvet set that matched the crib bumper in both hot pink and navy blue.
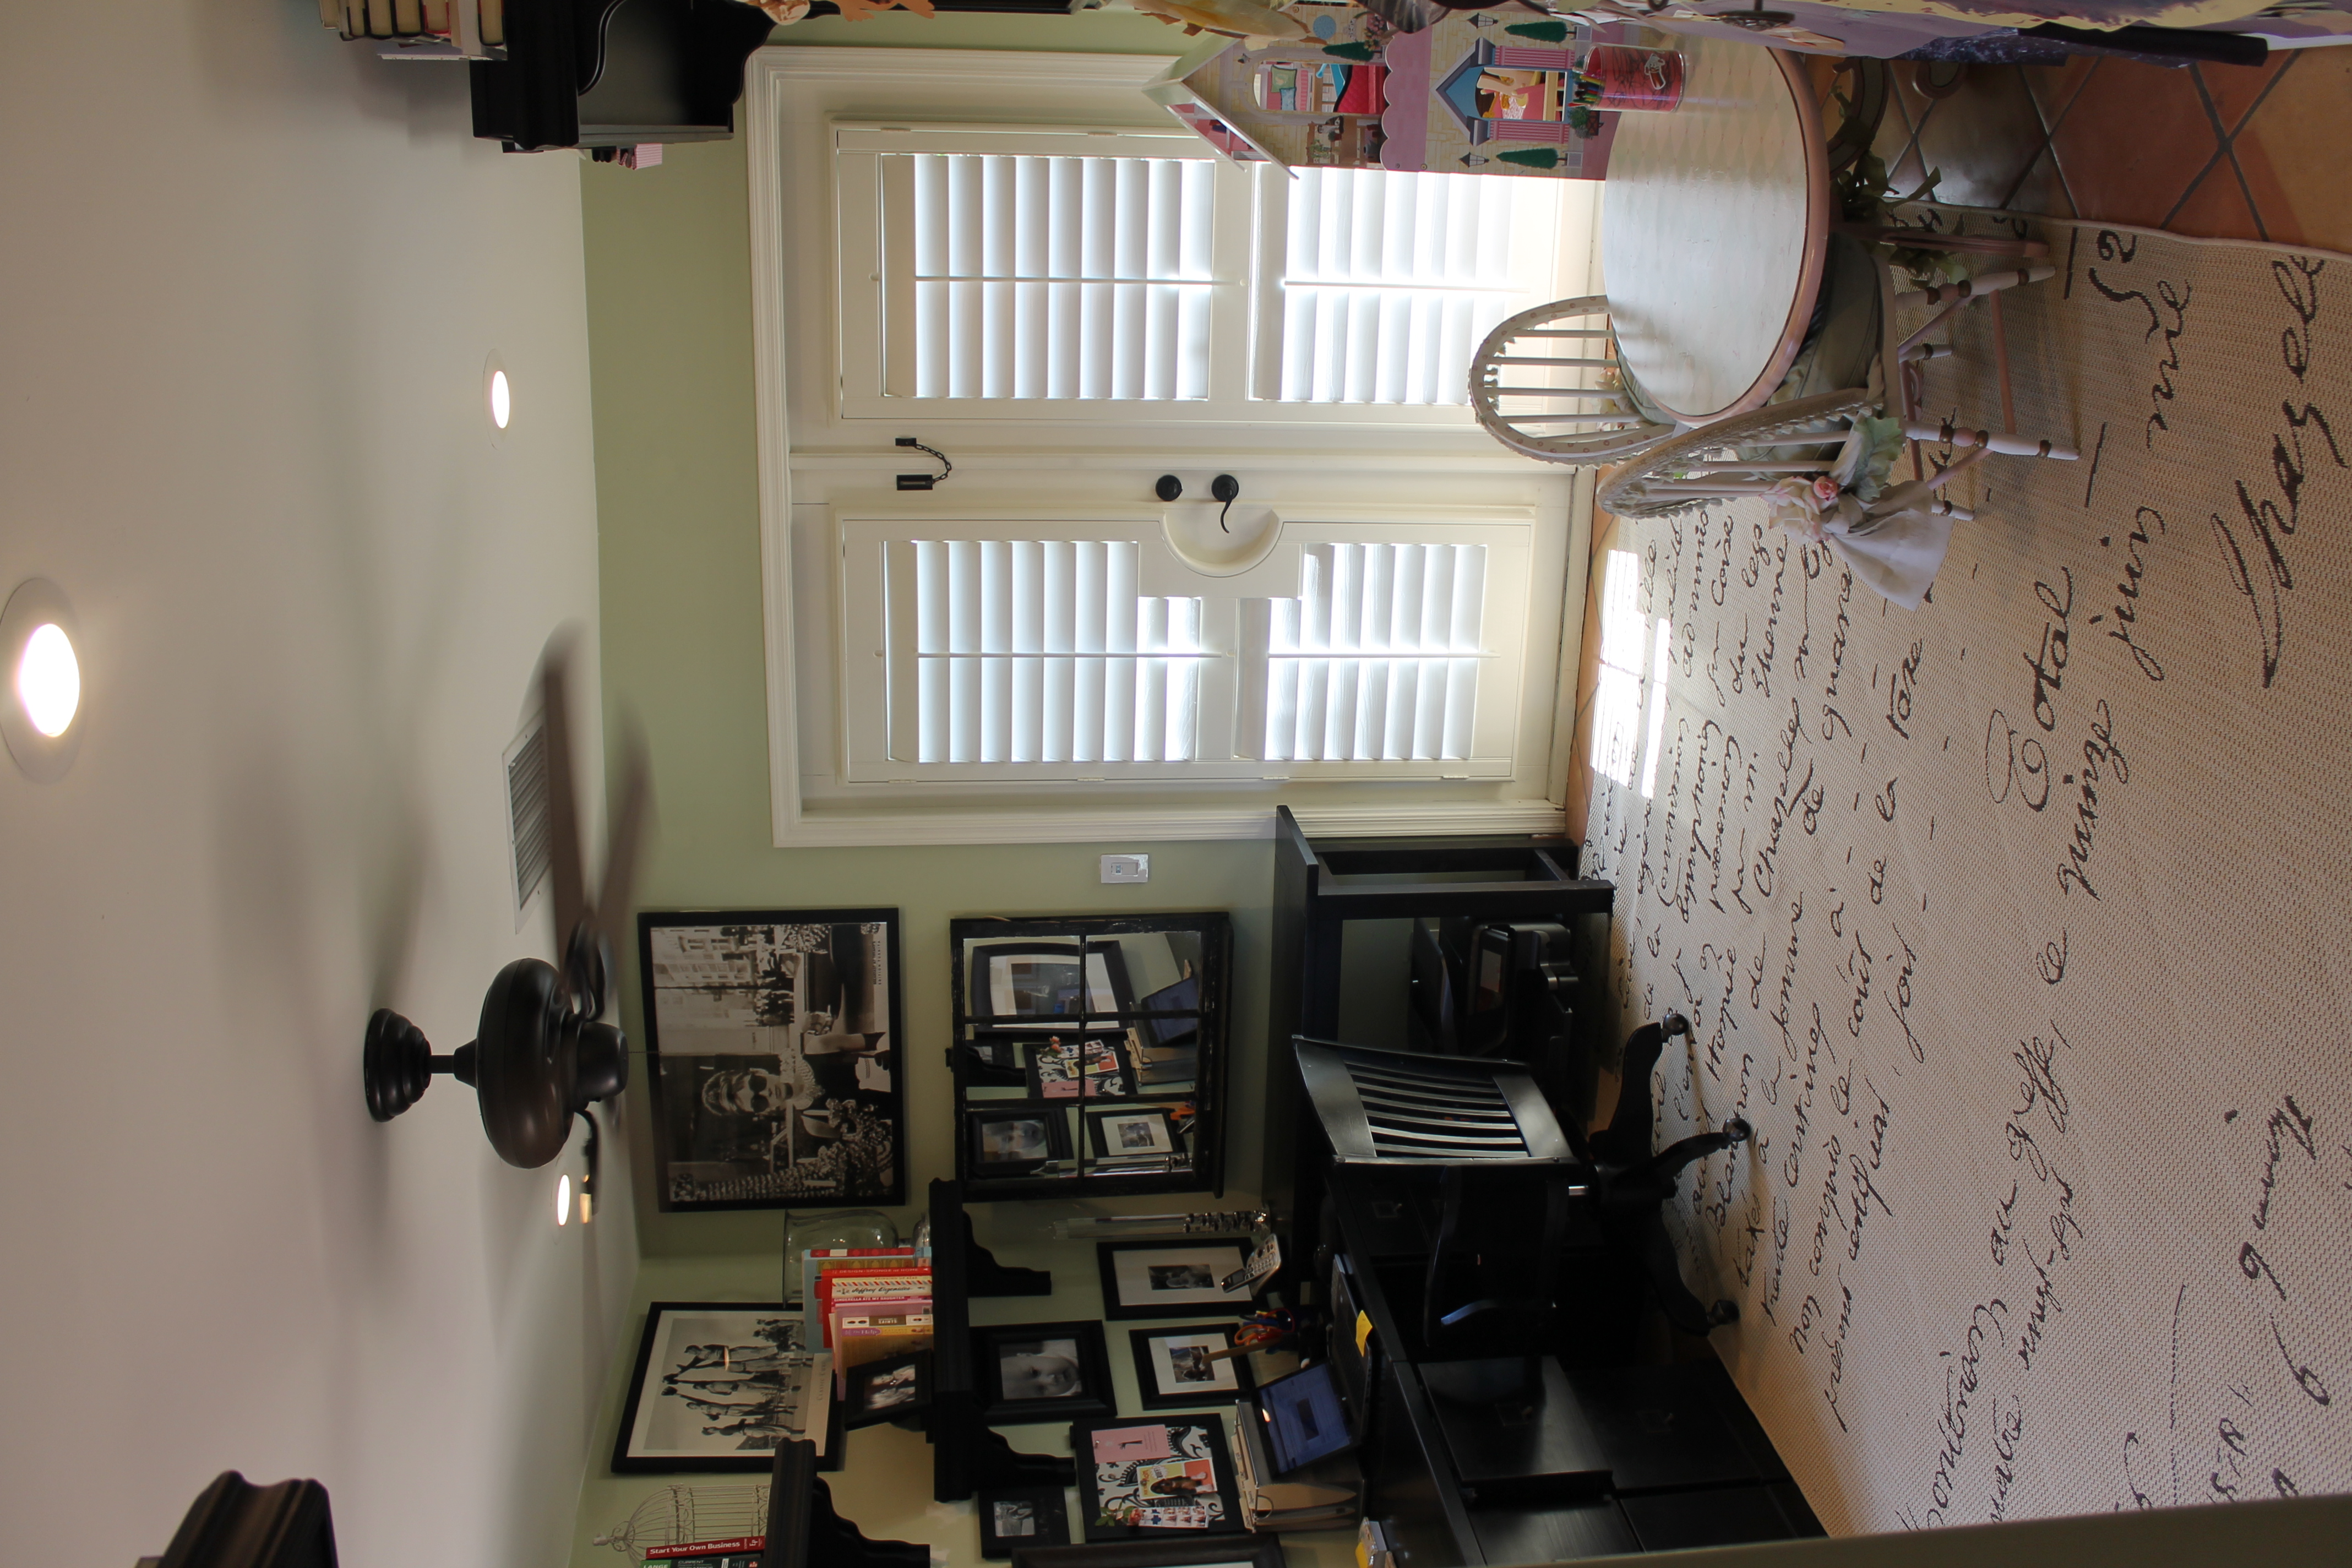
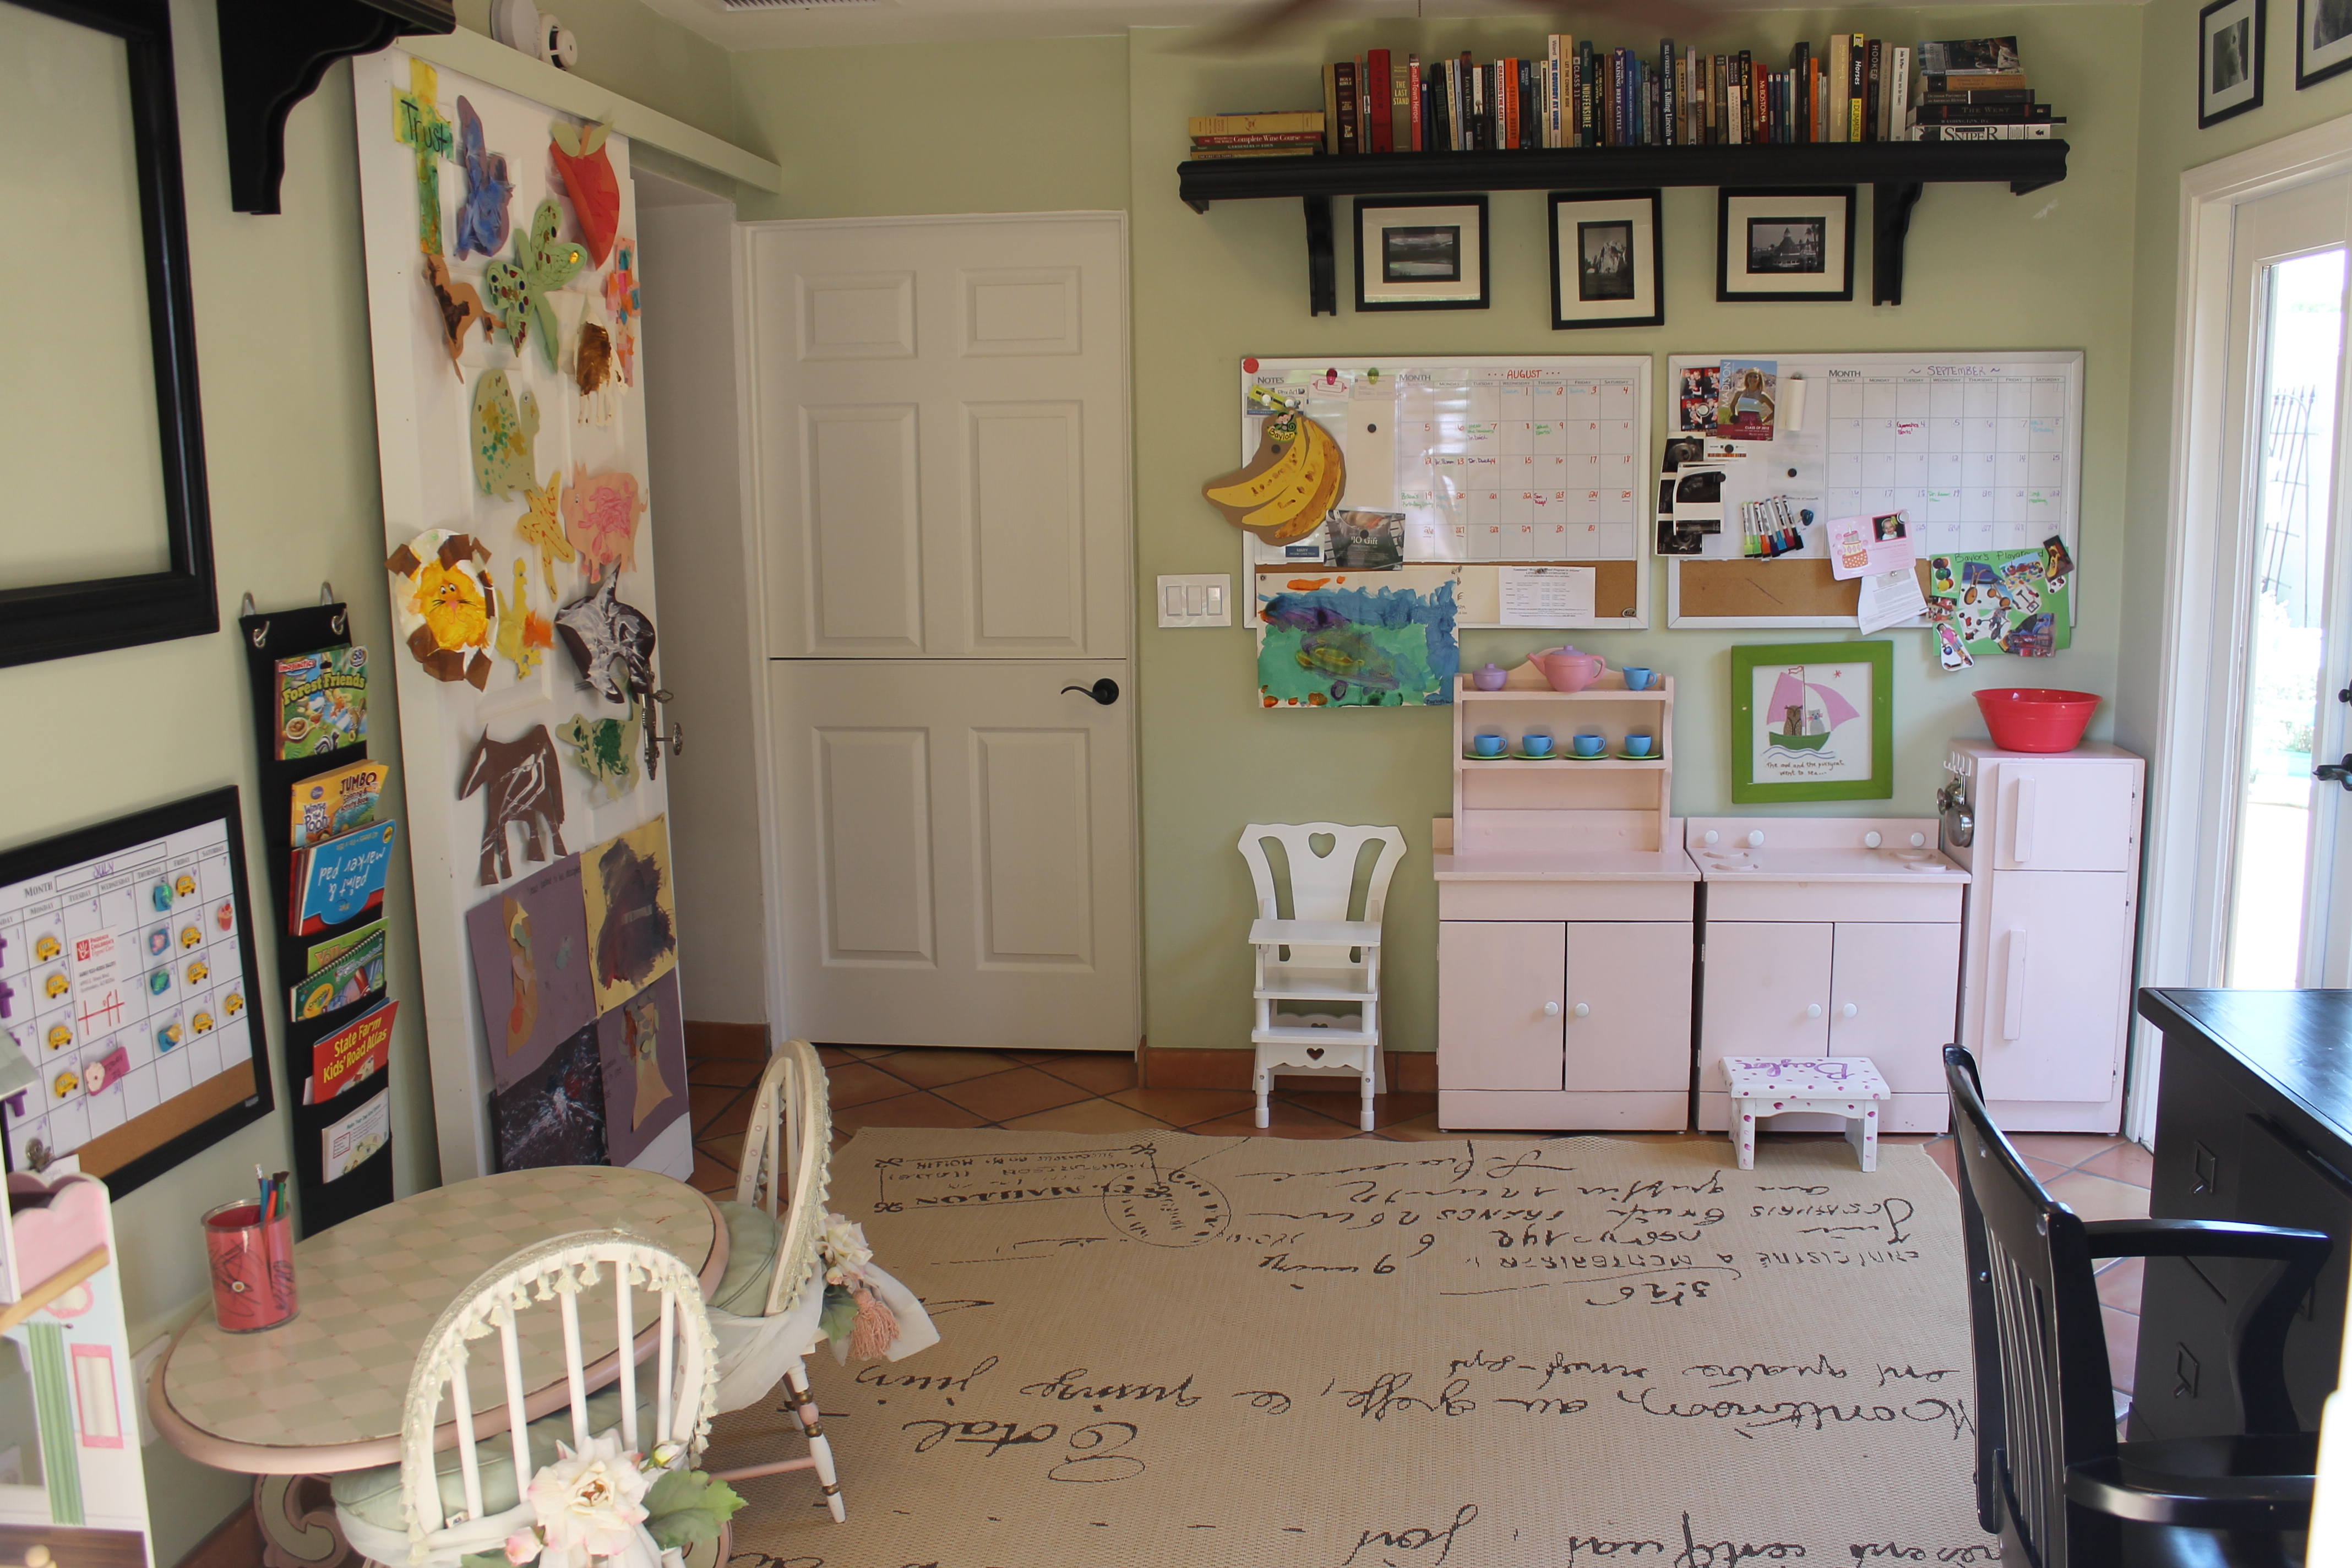
Along with the kids’ room makeover, we decided that the office would become half office/half playroom to accomodate some of the toys that would no longer have a home in the bedroom (what productive home office doesn’t have a mini kitchen set in it?!). With my plan in place, I hit the internet, Target, The Container store, Lowes…you name it, I was there.
Here’s where we started:
The “no boys allowed” before version…
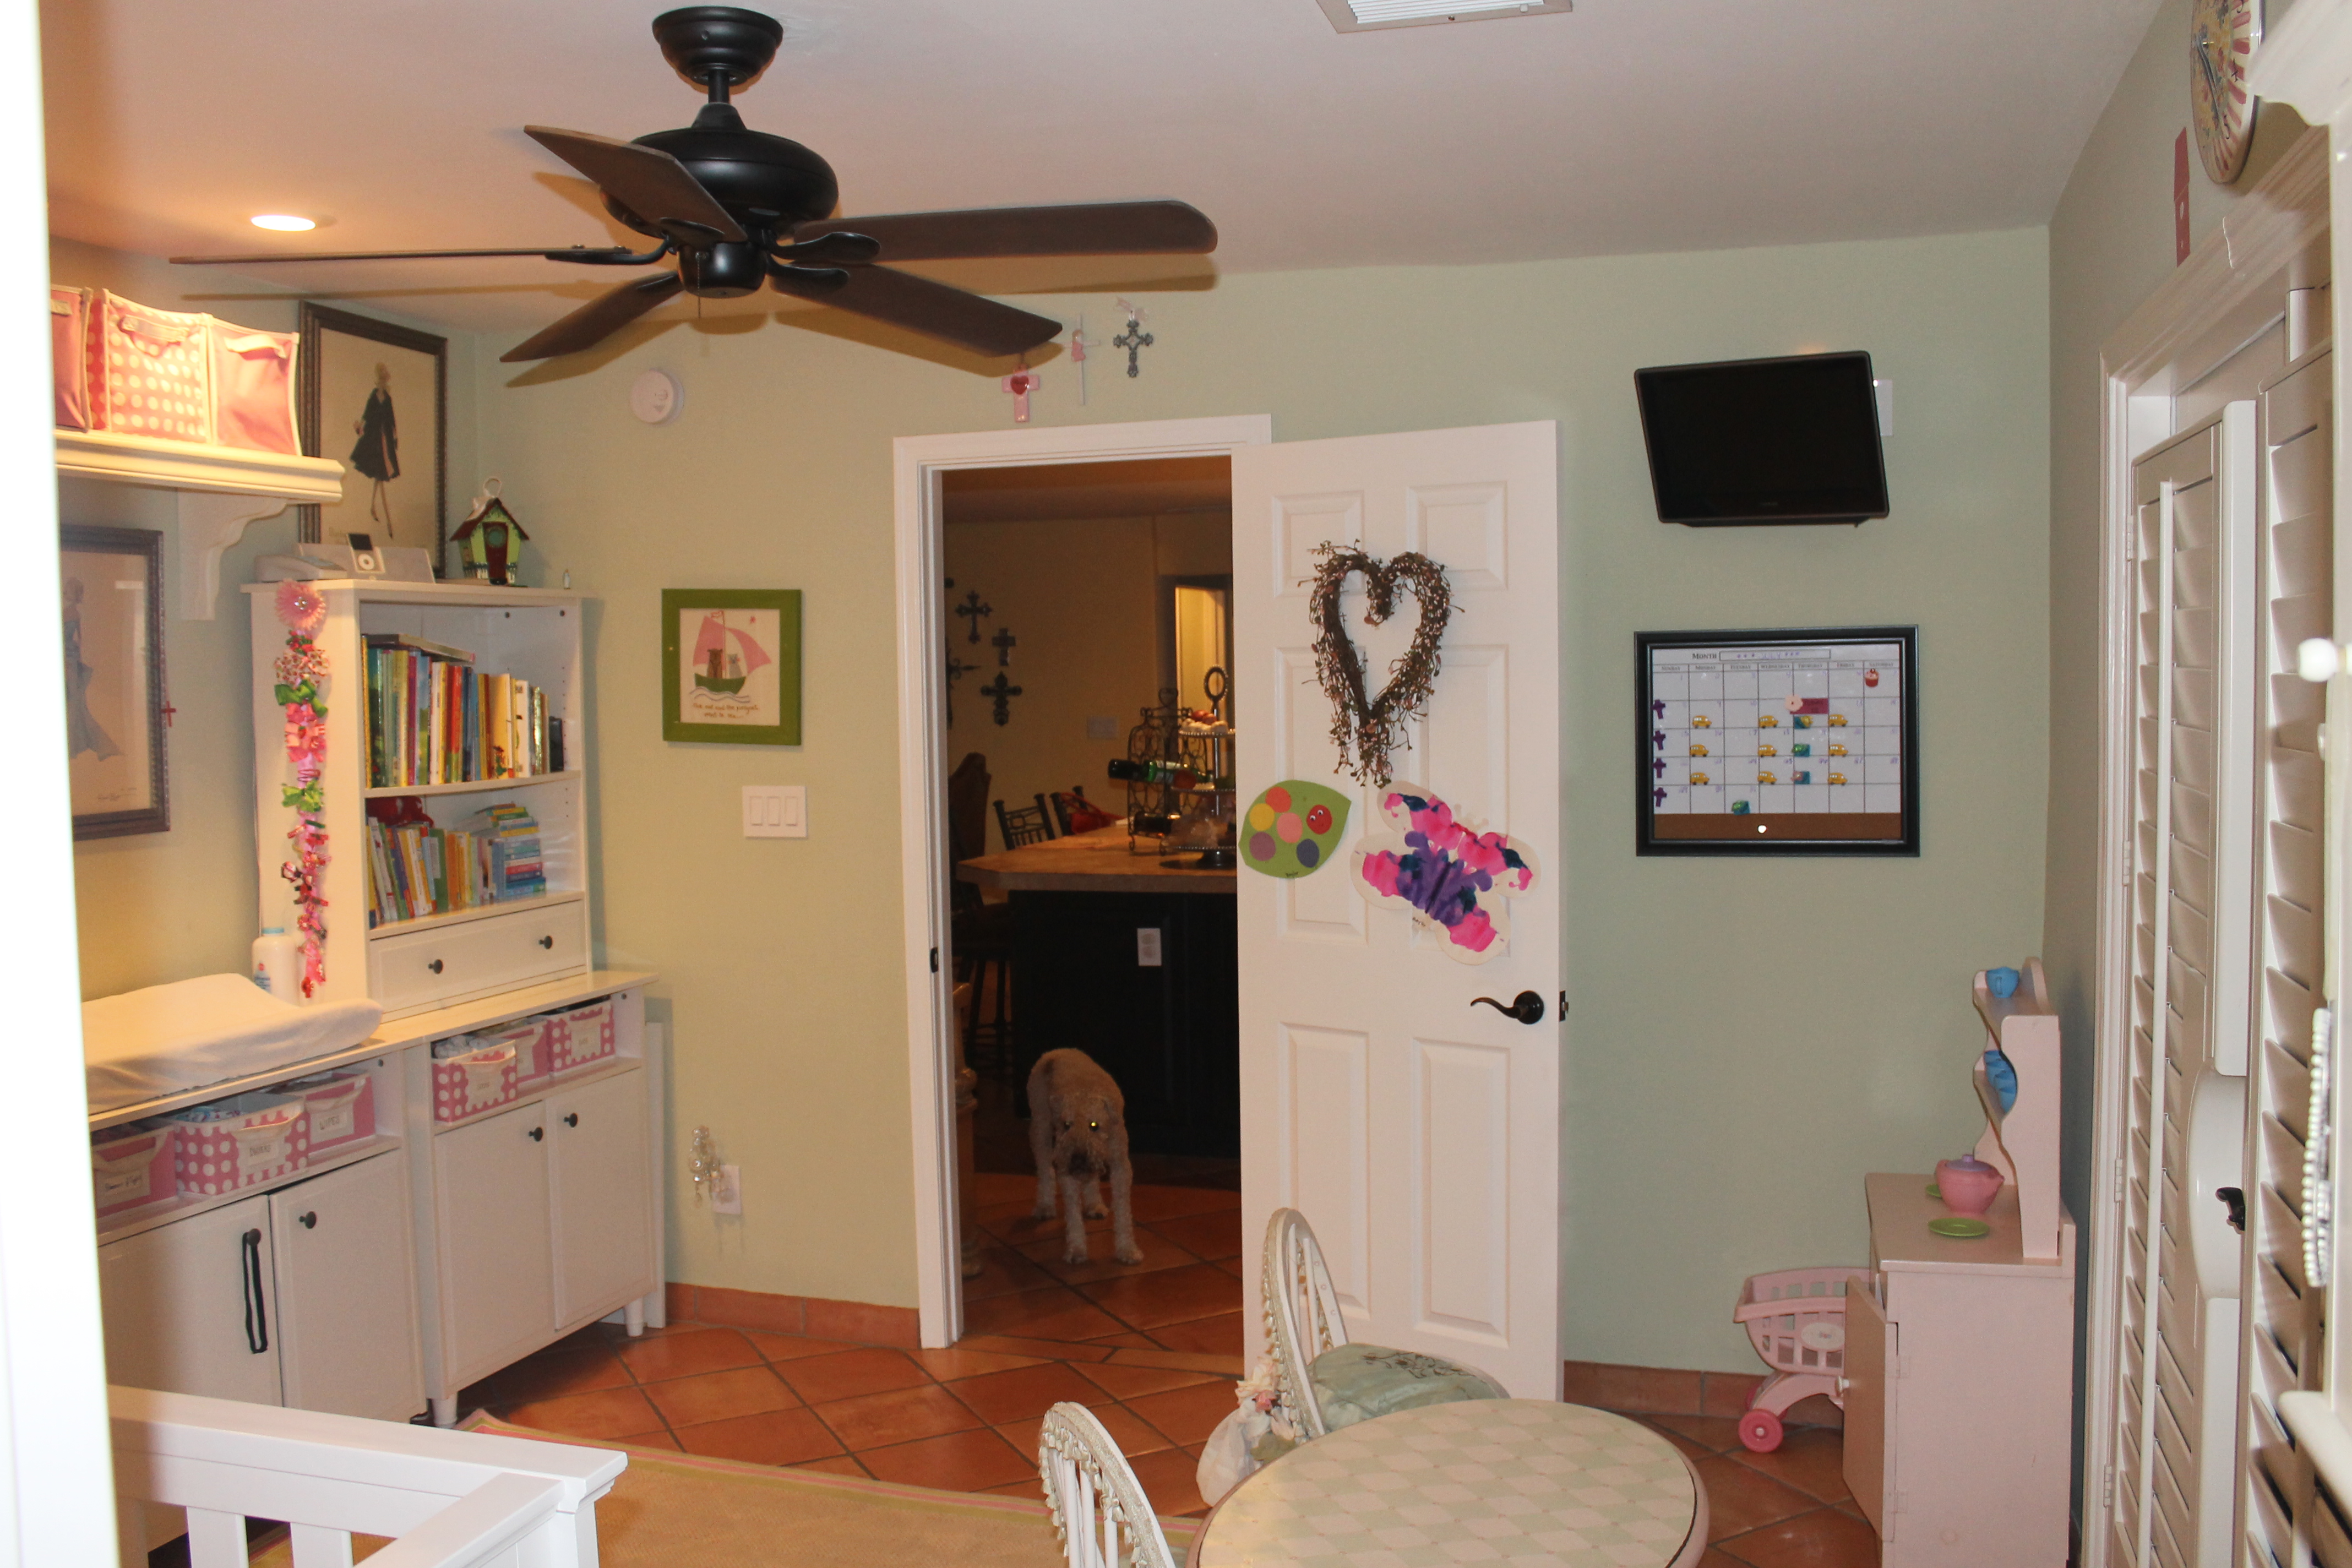
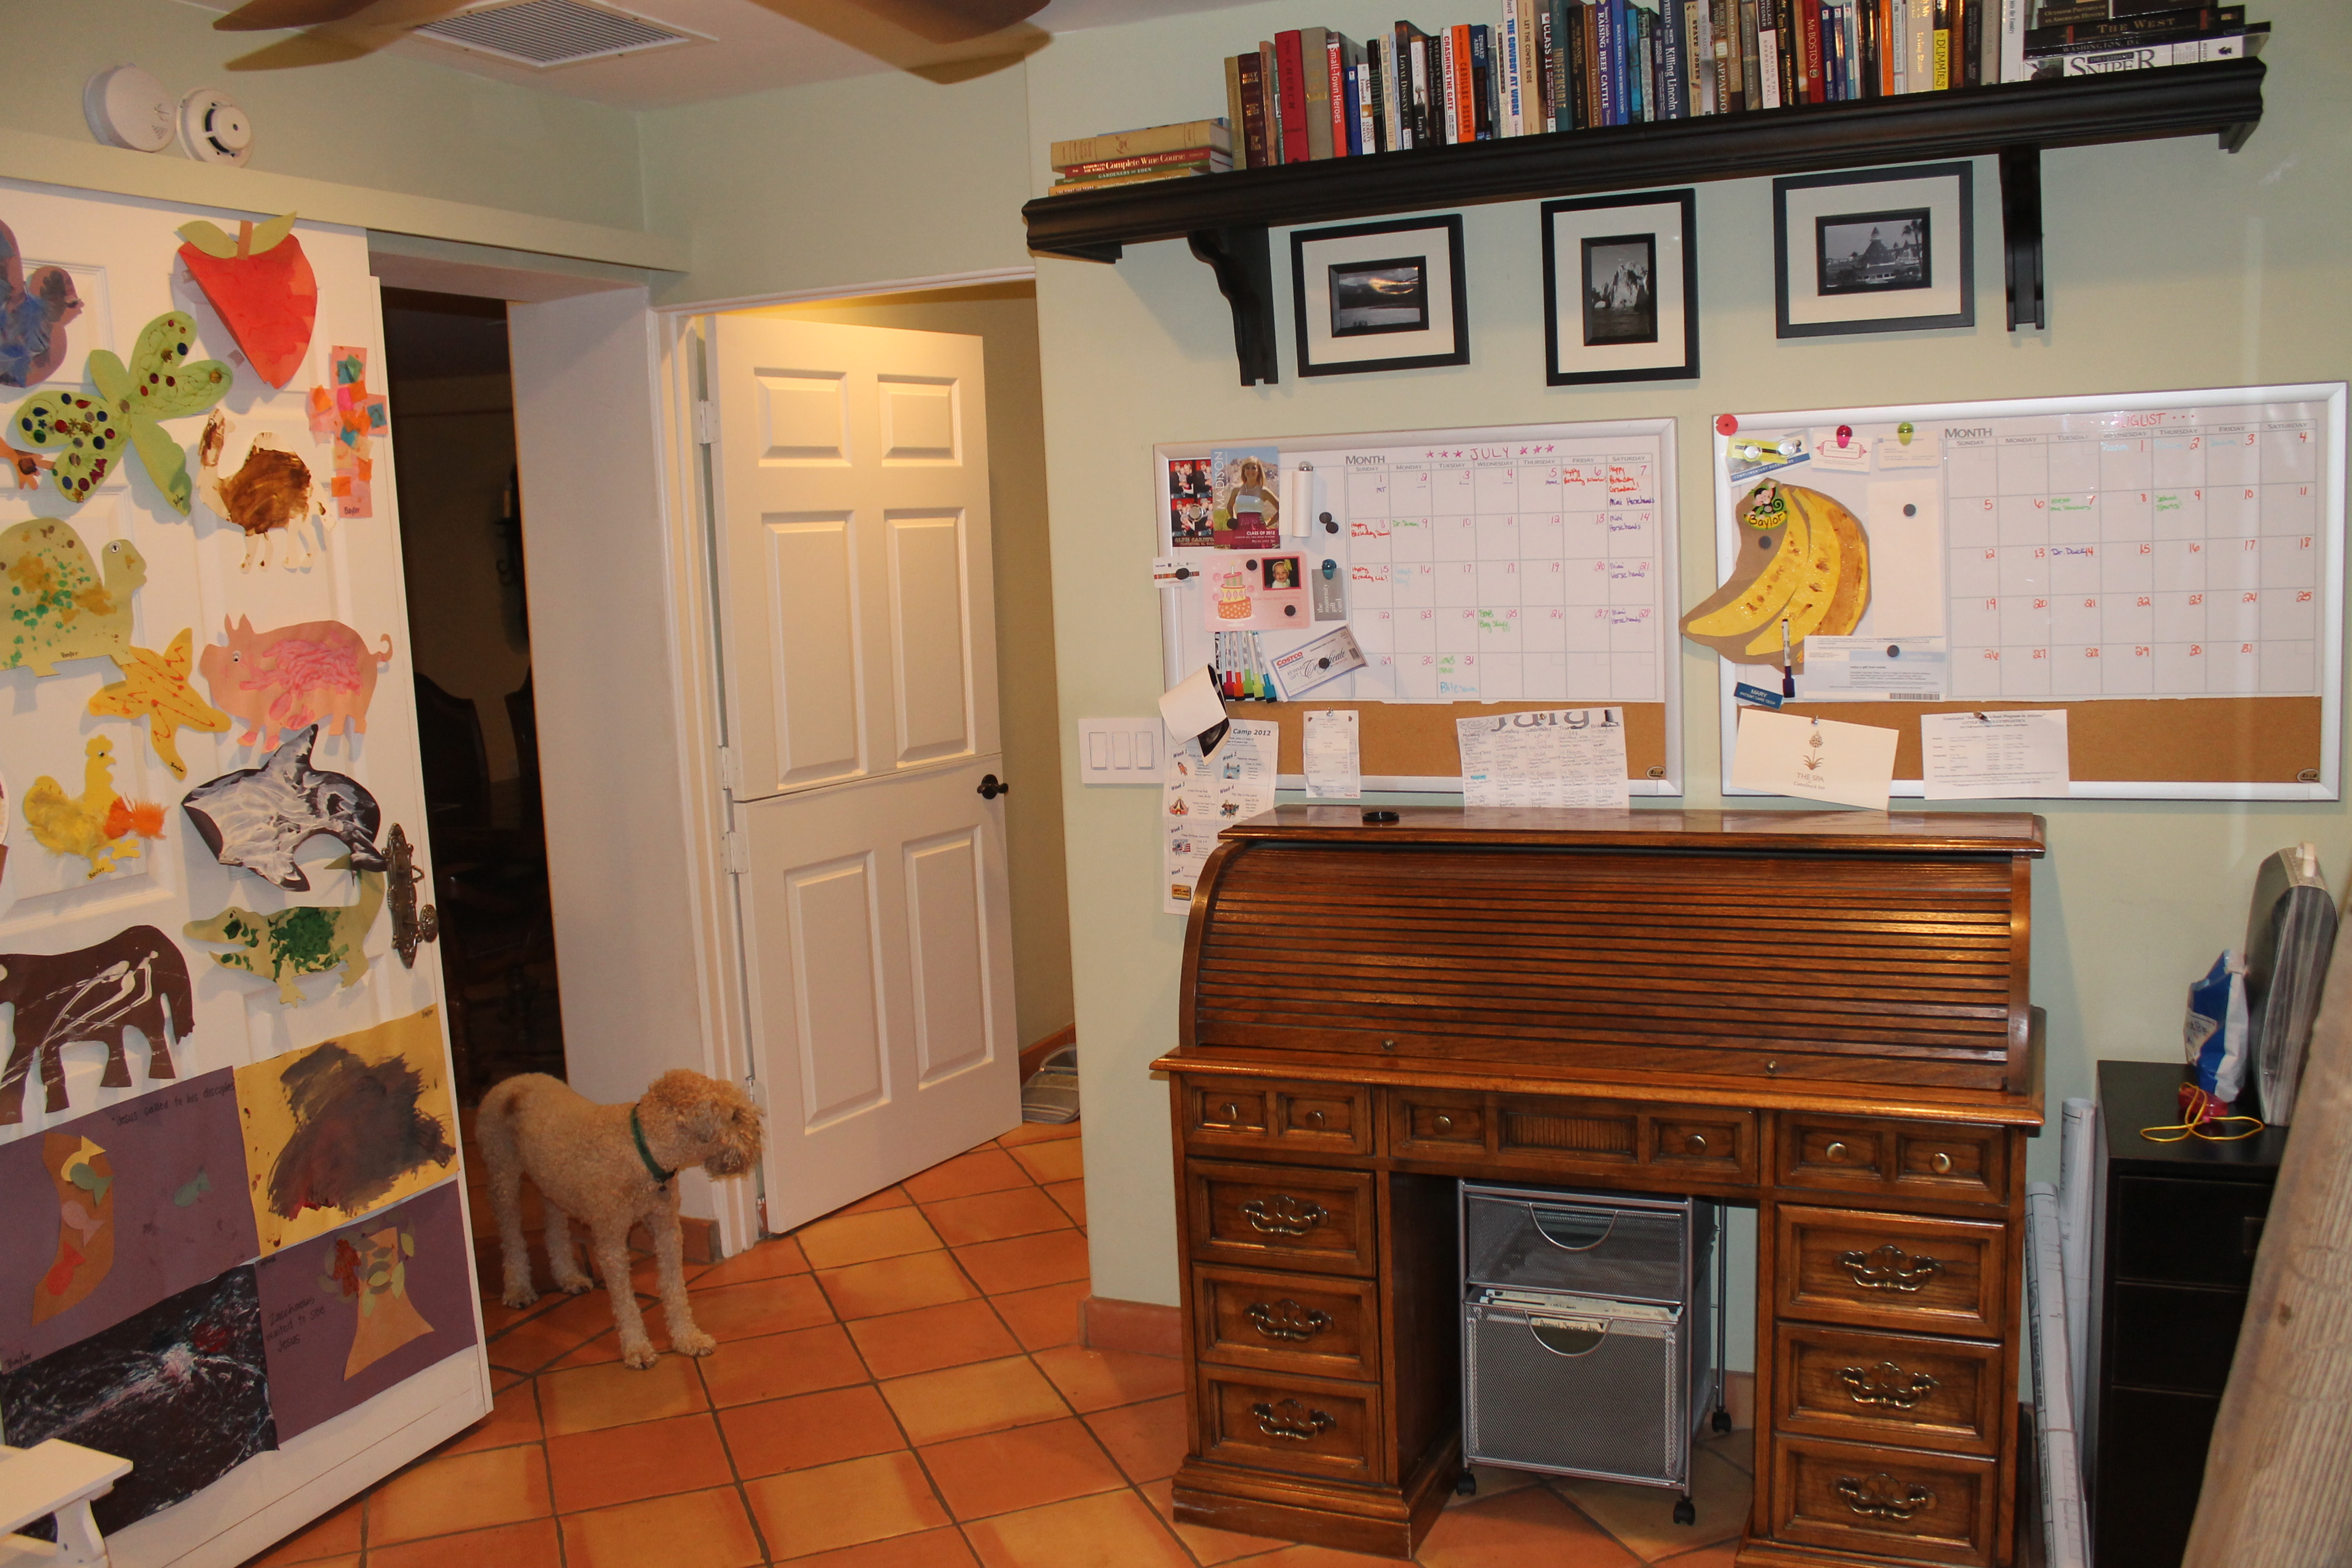
And the “toys are unwelcome however encroaching on my work space” complete with a dog photo bomb office before:
Three-ish weeks, a few arguments, a few tears, lots of helpful friends, 5 trips to Lowes in one weekend (I wish I was kidding) and the rooms are complete!
Ready to get started on your munchkins’ shared space? Here are my tips and tricks to creating something great AND being able to start that second college fund:
-Ask Your Friends. It’s amazing what someone who isn’t in the space every day can see that you can’t see. And see what they are doing in their kids rooms. And I need to give a big thank you to Ashley Hall for her help making all the cut outs for the mobile!
-Get online. Not only Pinterest, but also online kids stores. Even if you don’t buy from them, copy their layout ideas. And look for smaller shops like Etsy.com. I found adorable nautical themed hooks at Riri Creations. They created a custom listing for me and gave me a discount for ordering more than one hook!
-Get creative. Move, turn, eliminate, add and rethink your furniture. I had a vision (complete with measurements) that I thought would look great. Turns out it was way to squished once the furniture was actually moved. But after sitting back and thinking, we were able to come up with a new floorplan that was different, worked and didn’t require us to get rid of the changing table (as my husband suggested….men).
-Shop around. I think we’d all love to hit up Pottery Barn Kids and get the works, but who has that kind of budget? Spend on the pieces that you’ll see the most and get used the most – I splurged on PB Kids duvet, sham and bumper. But I mixed in Target and Amazon.com sheets. Found a day bed that matched our crib and Googled until I found it at the best price with free shipping.
-Get out some elbow grease. It’s amazing what a little paint, cutting a few inches off of a bed post or putting risers under a piece of furniture can do. Spray paint fixed the white shelf that always looked white but wasn’t really white when it was against something else white. And it made the now visible back of the changing table blend right in.
-Get Creative. I am no artist, but with a ruler, pencil and some paint, I created the nautical themed pictures over the crib and copied the whale mobile too. Talk to your friends who are creative and ask for their opinions on how to create something. Just go for it. The worst that can happen is that it comes out bad so then you move on!


")
[…] – now we just need the baby to go in the crib and we’re set! Check out the pictures on Scottsdale Moms Blog today along with all the other hilarious posts from Pregnancy […]
Great idea to move the toys into the office! Where did you get that rug?
It’s from Ballard Designs. The best part is that it’s an indoor outdoor rug so it’s easy to clean!
Comments are closed.